Interface overview
In this article, we’ll walk through the main parts of the Rental Booster interface and show you how to work with them.
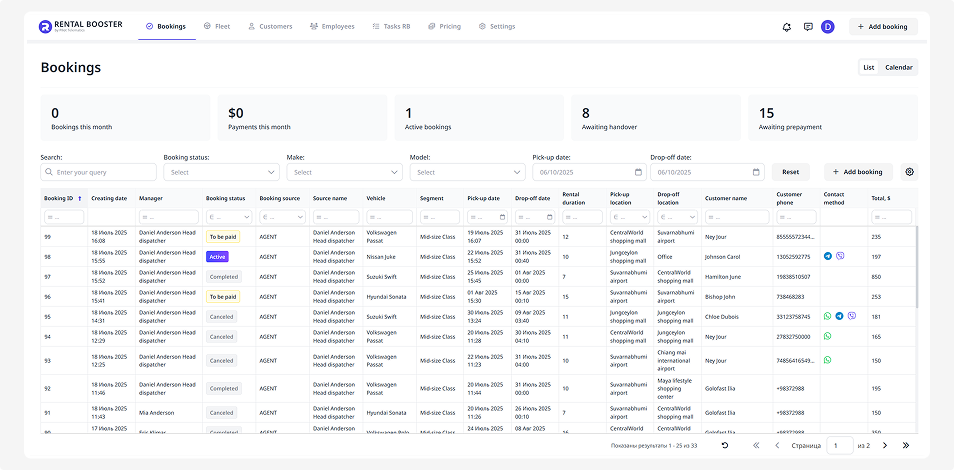
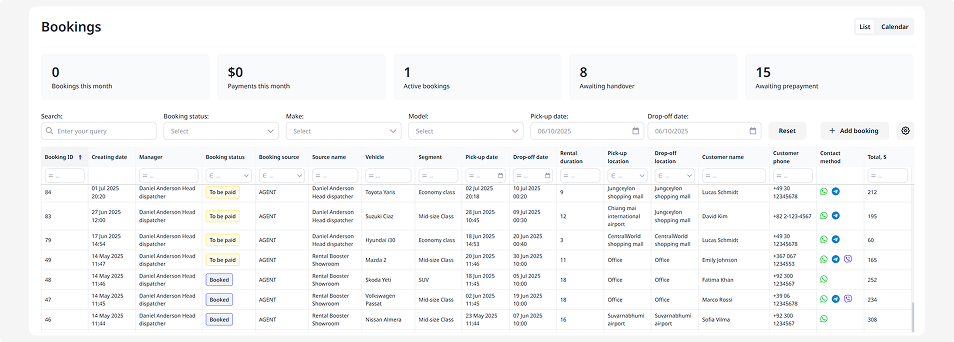
Home page
After signing in, you’ll land on the Bookings page — this is your main workspace, where you can create, view, and manage all bookings.
Main menu
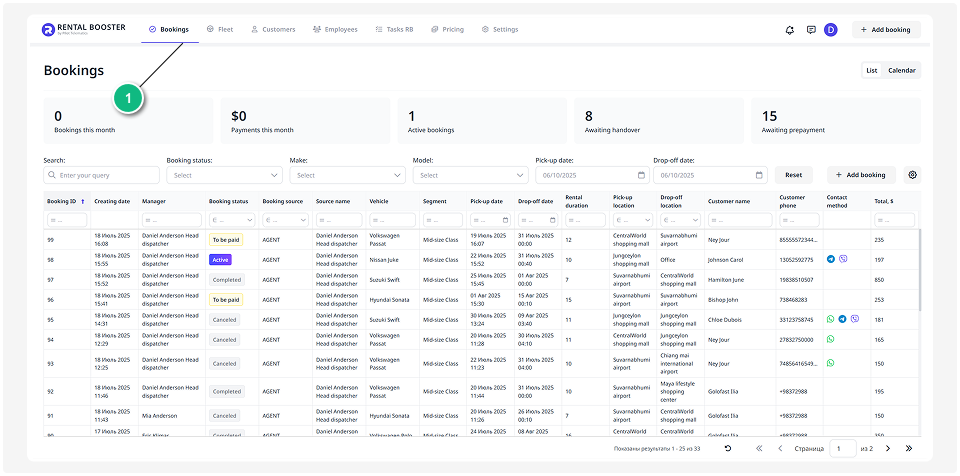
The main menu is located at the top of the screen.
Use it to move between key sections — just click the name of the section you need:
• Bookings — manage all bookings
• Fleet — list of all vehicles in your company
• Customers — your customer database
• Employees — staff members, their roles, and details
• Tasks — tasks linked to bookings or rentals
• Pricing — configuration of rental rates and conditions
-
Integrations — connect and manage external services
• Settings — company and profile settings
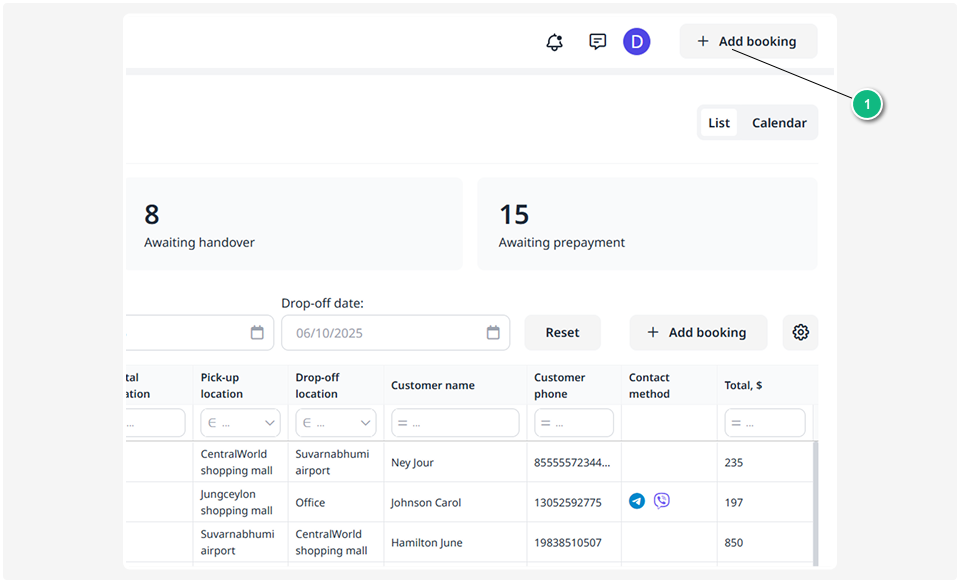
Notifications
Click the bell icon on the top panel to view system notifications — these include updates about bookings, tasks, and other events. New notifications are always shown at the top.
To mark notifications as read, click Read.
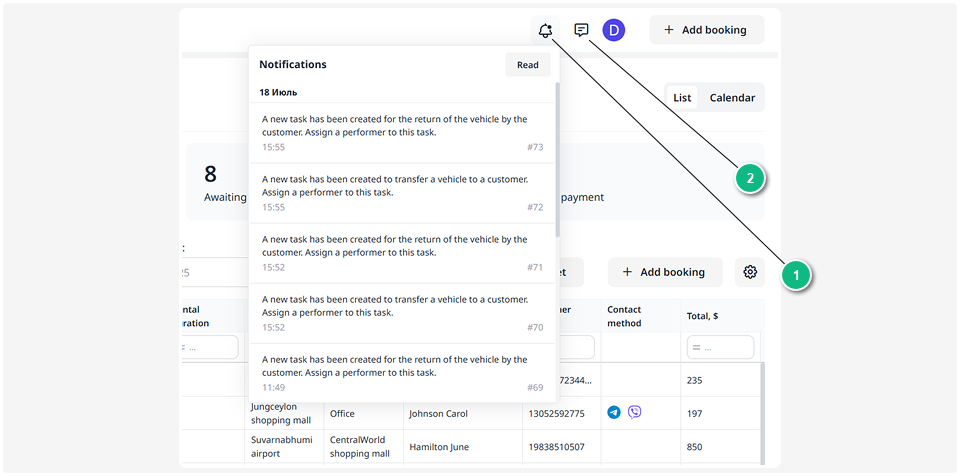
1 — Notifications
2 — Feedback
If something doesn’t work as expected or you have a question, you can contact our support team:
1. Click the message icon on the top panel — a feedback form will open
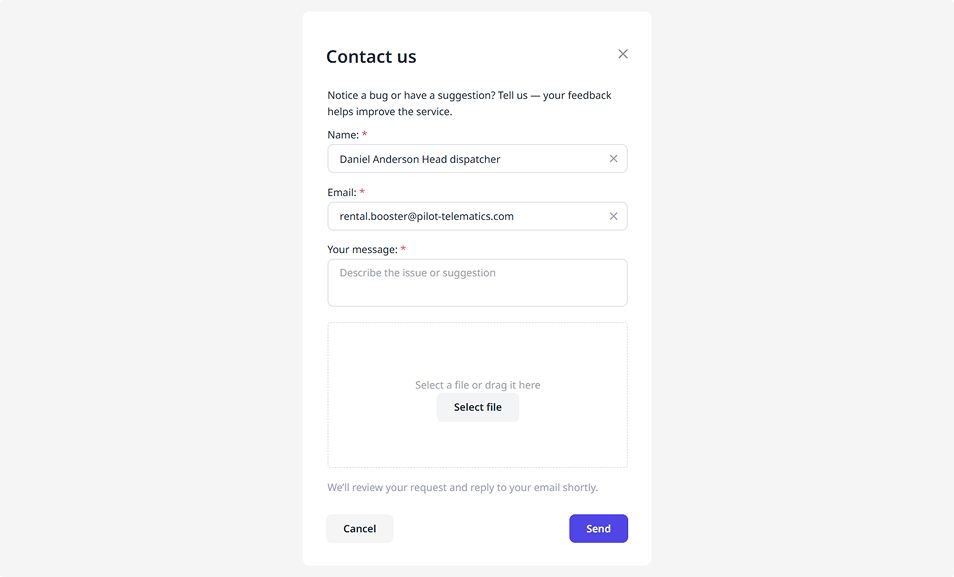
2. Enter your name and email so we can reply to you
3. Describe your question, issue, or suggestion. Mention which section or step caused the problem
4. If needed, attach a file (a screenshot, short video, or document). Click Select file and upload it from your device
5. Click Send
The Rental Booster team will review your request and respond to the provided email address.
To open the user guide, click the Help icon in the top panel.
The Rental Booster documentation website will open, where you can find step-by-step instructions for setting up and using the system, as well as answers to frequently asked questions.
If you can't find the information you need, contact our support team using the feedback form.
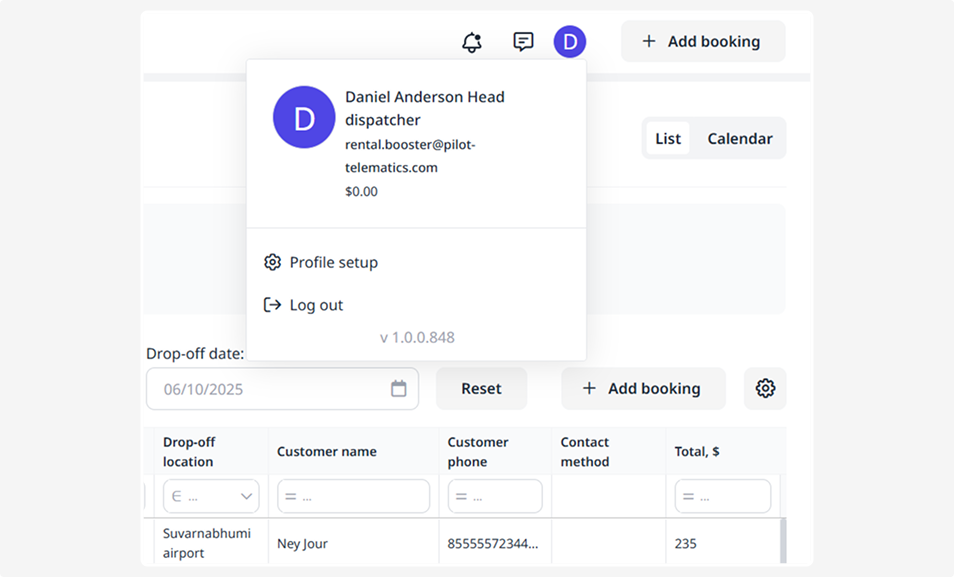
User profile
In the top-right corner, you’ll find your profile icon. Click it to:
• view your name and account balance
• open your profile settings
• sign out of the system
Add booking button
On the top panel to the right, the Add booking button is always available.
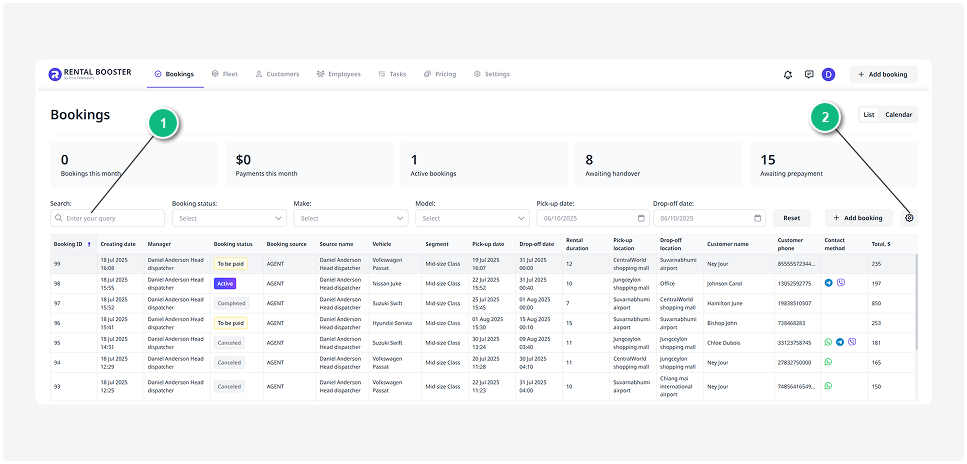
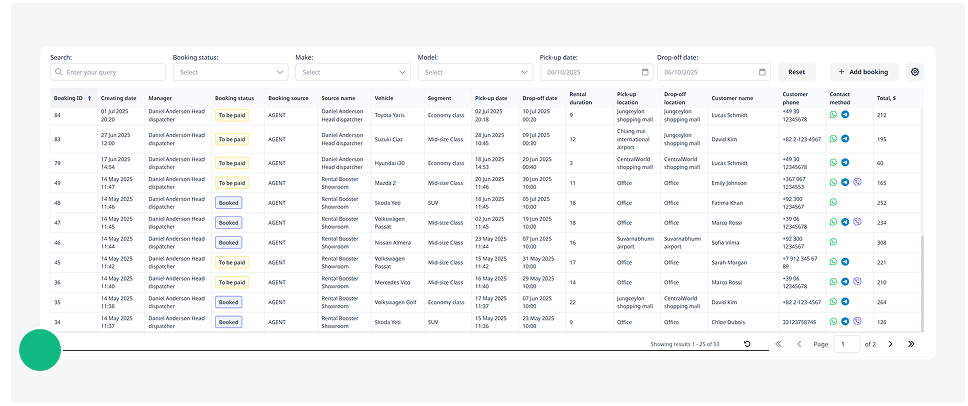
Working with tables
Information about vehicles, bookings, customers, and tasks is displayed in tables. All tables in Rental Booster work the same way, so once you learn the basics, you can easily manage data anywhere.
Use filters and column settings to quickly find what you need.
How to use filters
Filters are located above the table. Type your query into the search field or choose a value from the dropdown menu — the table will then show only the matching records.
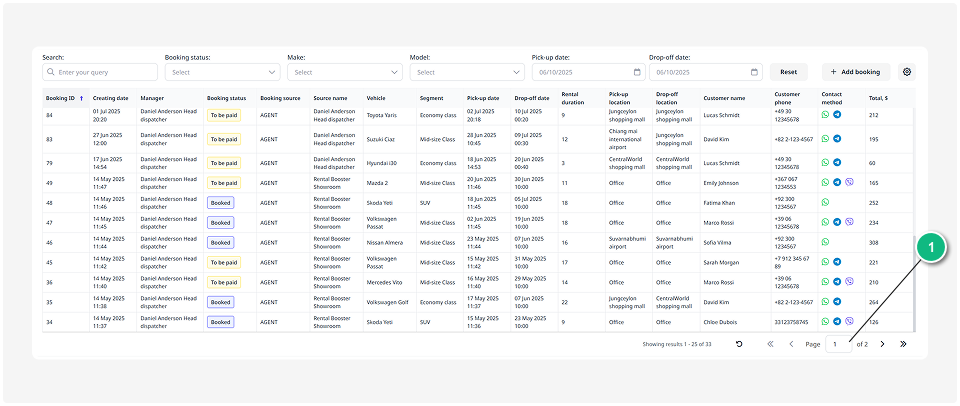
1 — Filters
2 — Table settings
How to customize a table
Next to the table, you’ll find the table settings button.
It lets you choose which columns to display and enables advanced filtering.
1. Click the table settings button 
2. In the window that opens, check the boxes for the columns you want to display
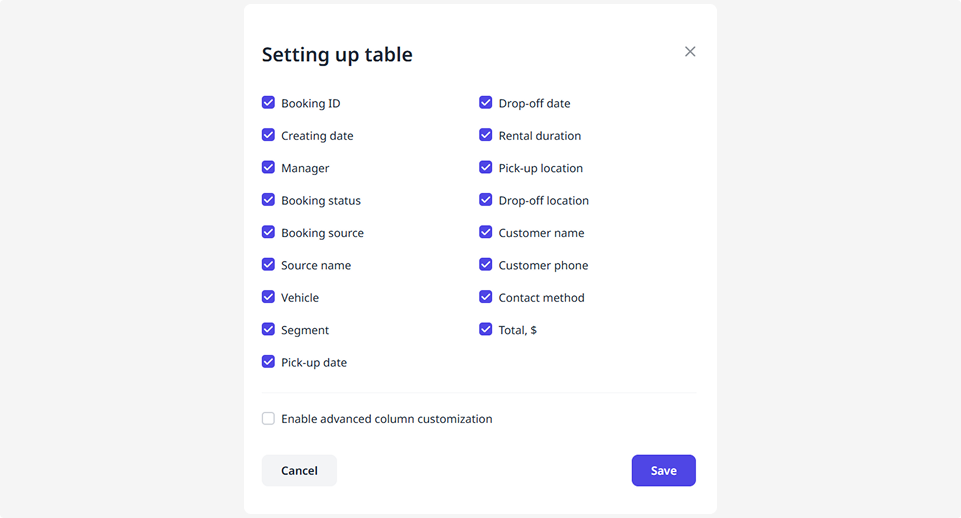
3. To enable filtering within each column, turn on Enable advanced column customization. Small filter fields will appear below the column names
4. Click Save. The table will now show only the data you need
Switching between pages
If there are many records in a table, they are split across multiple pages. At the bottom of the page, you’ll find arrows to move forward or backward and the number of the current page.