How to work with the Bookings section
In this article, we’ll go over how to work with the Bookings section:
— where to view booking information
— how to use booking statistics
— what booking statuses mean
— how to work with the booking calendar
How to work with the booking list
The list displays all bookings.
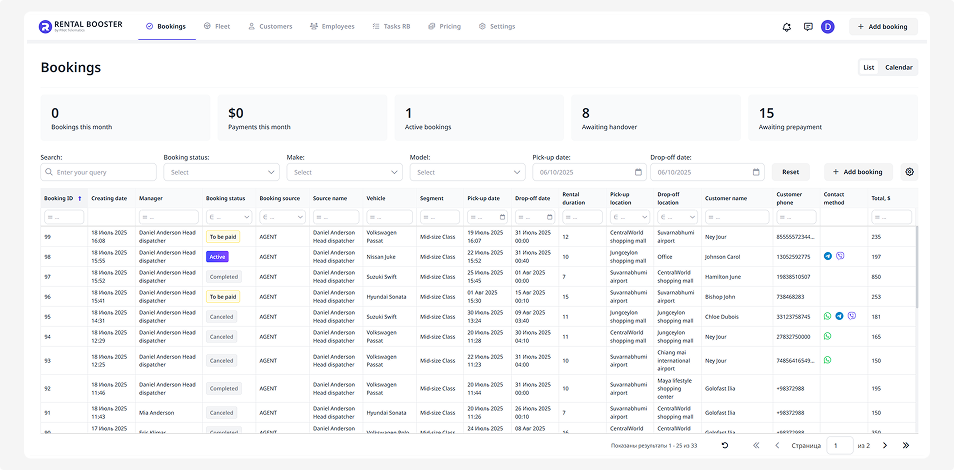
Here you can:
— view the main information for each booking
— open the booking page
— check the booking status
— filter the list using specific parameters
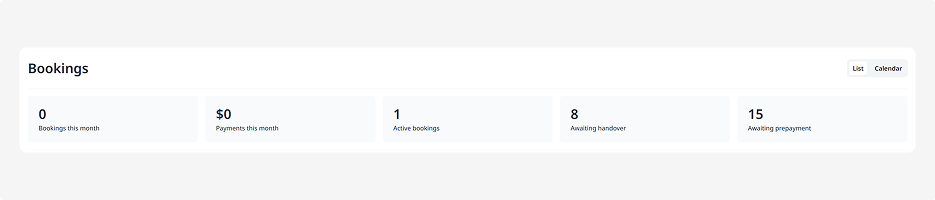
Booking statistics
At the top of the section, you’ll find booking statistics:
• Bookings per month — the total number of bookings created
• Payments per month — the total amount received from customers
• Active — bookings currently in progress
• Awaiting pick-up — paid bookings that haven’t started yet
• Awaiting prepayment — bookings that haven’t been paid yet
Booking statuses
Each booking has a status indicating its current stage:
• New — the booking has been created but not yet paid or confirmed
• To be paid — the customer has not yet made a payment for the booking
• Booked — the booking is confirmed and paid, but the rental hasn’t started yet
• Active — the rental is in progress; the vehicle has been handed over to the customer
• Completed — the rental is finished, and the vehicle has been returned
• Canceled — the booking has been canceled and is no longer active
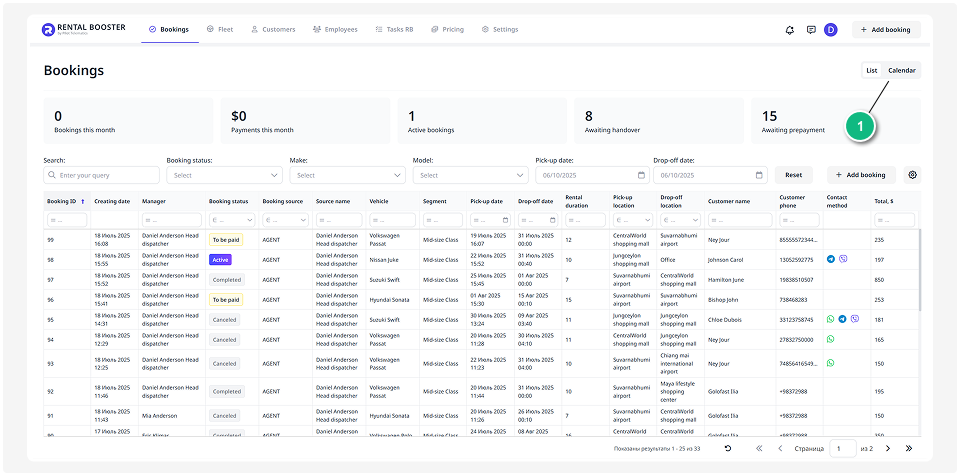
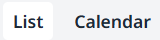
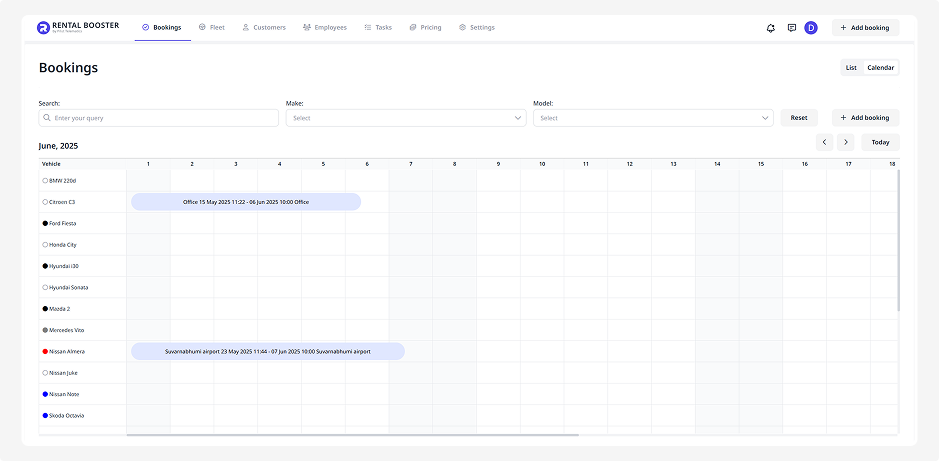
You can track bookings not only in a list but also using the calendar view.
To open the calendar, switch from list view using the button at the top.
In the calendar, you’ll see:
• Each vehicle as a separate row
• Bookings displayed as colored blocks
• Each booking block shows pick-up and drop-off details, customer name, and vehicle
Hovering over a booking displays detailed information in a pop-up window.
Double-clicking a booking opens its detailed page.
Use the arrows to switch between weeks and months.
Click Today to return to the current date.
How to edit a booking
To edit booking information or open its page:
1. Double-click the desired row in the booking list
2. The booking page will open
3. Update the necessary information and click Save