How to complete a vehicle pick-up
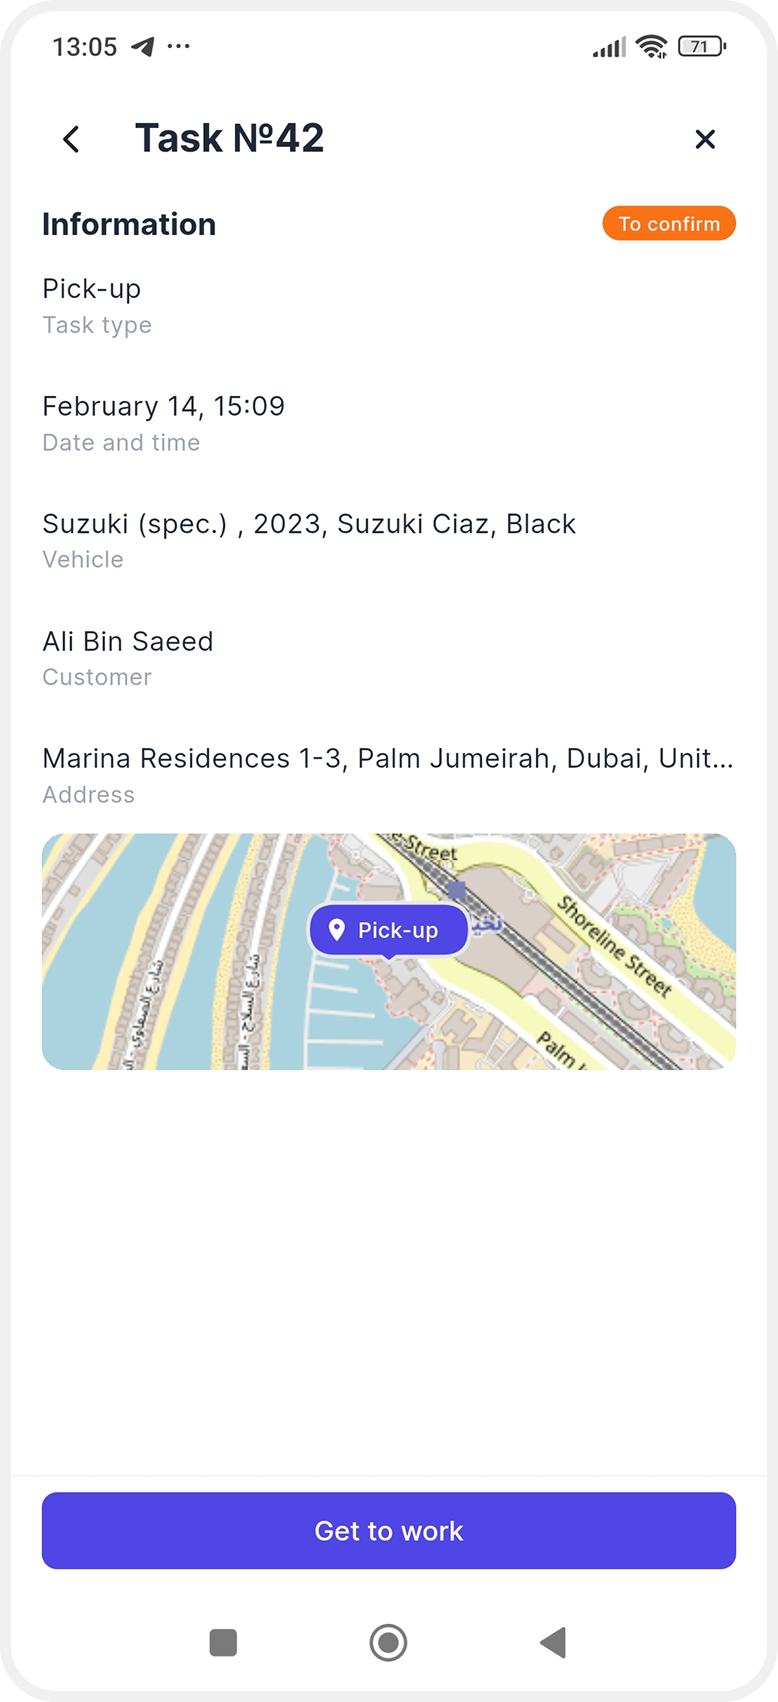
After you receive a new task and tap Go to work, it moves to the Active section.
When you meet the customer and are ready to hand over the vehicle, tap Start pick-up.

The Vehicle pick-up screen will open — this is where you record the actual vehicle condition and payment details.
You complete this step in person, together with the customer.


The screen is divided into several sections.
Simply go through them one by one — tap each section and enter the required information.
Information
Here you review and enter customer and vehicle details.

-
Customer information
Make sure the correct customer is selected.
Open the section and fill in the required fields (marked with *):
— Passport: number, country of issue, issue date, expiry date
— Driver’s license: number, country of issue, issue date, expiry date


If any data is already filled in, just verify that it is correct.
Then enter:
-
Mileage — current odometer reading
-
Fuel level
-
Spare tire — toggle Yes / No
-
Comment — add notes if needed (damage, vehicle condition, agreements with the customer, etc.)


Photos and documents
Next, take and upload photos and required documents.
You can add:
-
Exterior — full vehicle view from all sides, including scratches or dents
-
Interior — seats and dashboard condition
-
Fuel and mileage — dashboard showing fuel level and odometer
-
Spare tire — if applicable
-
Customer’s driver’s license
-
Customer’s passport

Tap the required photo type, take a picture, or upload one from the gallery.
To add multiple photos, tap + Add photo.
To delete a photo, tap the trash icon.


After uploading, tap Save.
Payment
At the bottom of the screen, you will see the Payment section.

Here you can view:
-
Deposit
-
Rental cost
-
Extra services
-
Already paid
-
Due at pick-up
If the customer makes a payment during pick-up:
1. Tap + Add Payment
2. Enter the amount
3. Select the payment method (card, cash, transfer)


4. Add a comment if needed
The system will automatically recalculate the total.
Agreement signing
When all information is completed:
1. Tap Go to signing
2. The Agreement signing screen will open

3. Hand the phone to the customer. The customer signs in the designated area using a finger. If needed, clear  and sign again
4. Tap Complete task
The signature will automatically be saved and attached to the booking documents.
After completion
You will see:
-
The task number
-
Confirmation that the contract has been signed
-
The amount of cash (if any) that must be returned to the office
Tap Go to tasks to return to the task list.
